2012 in review
January 2, 2013
The WordPress.com stats helper monkeys prepared a 2012 annual report for this blog.
Here’s an excerpt:
600 people reached the top of Mt. Everest in 2012. This blog got about 4,400 views in 2012. If every person who reached the top of Mt. Everest viewed this blog, it would have taken 7 years to get that many views.
It is Finished!
May 10, 2010
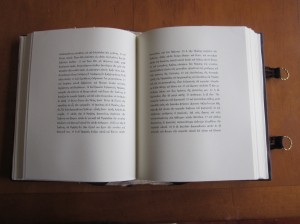
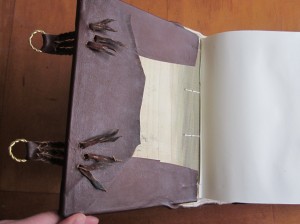
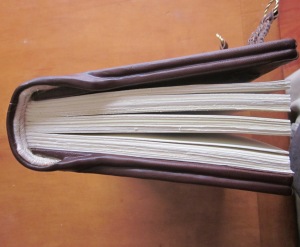
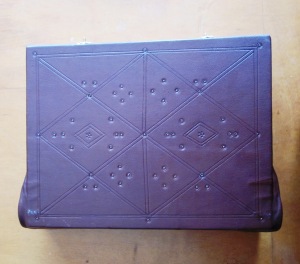
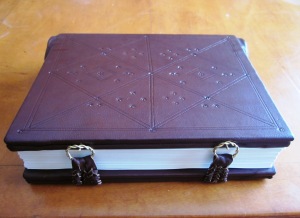
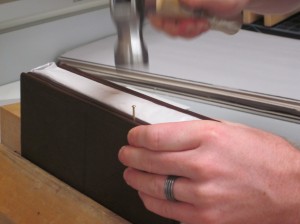
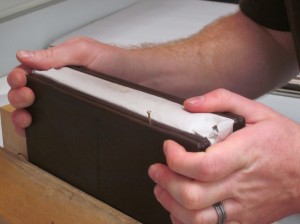
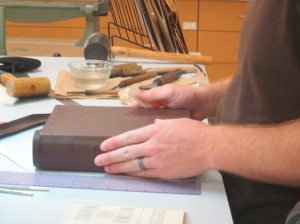
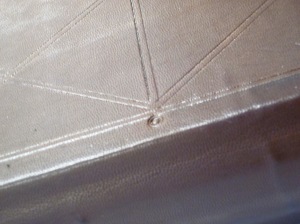
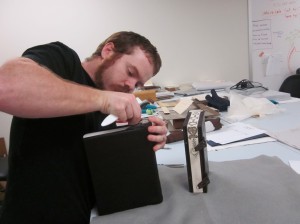
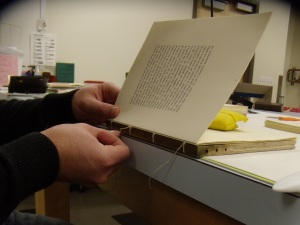
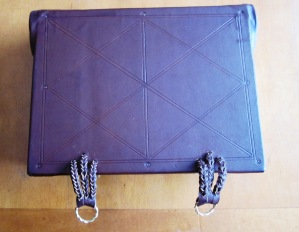
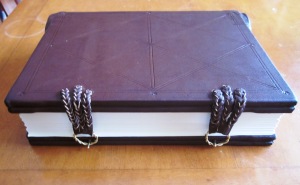
After I finished the blind tooling on Friday, May 7, I attached the straps to the model and officially completed the project. Byzantine bindings have anywhere from two to as many as 12 fastenings. The fastenings are always of the peg and strap type. A metal peg was driven into the edge of the upper cover and leather straps (mostly slit braid) are attached through holes along the edge of the lower cover. Getting the straps into the holes is a very difficult process (sorry no pictures) but the final product is extremely beautiful. I wonder if the tri-partite slit-braid represented the Trinity? On real byzantine bindings many of the pegs and rings were elaborately forged.
This has been an extremely interesting and fulfilling project. In the process I have gained a much deeper understanding of the basic mechanisms of medieval bindings and an appreciation for the beauty and functionality of the byzantine codex. I hope that those of you who have followed my blog have also gained an appreciation for this fascinating historical structure.
_________________________________________________________
___________________________________________________________
 ___________________________________________________________
____________________________________________________________
____________________________________________________________
___________________________________________________________
 _____________________________________________________________
The Final Touches
May 10, 2010
________________________________________________________
___________________________________________________________
_____________________________________________________________
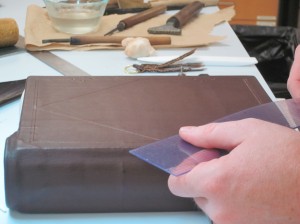
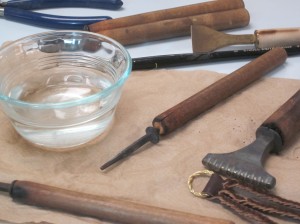
I used a divider (machinist's tool) to do the initial measurements, then I used a plastic ruler and bone folder to make the lines.
___________________________________________________________
___________________________________________________________
Covering the Boards
May 4, 2010
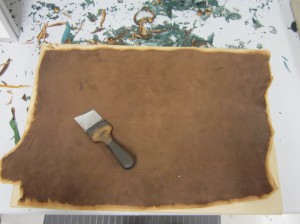
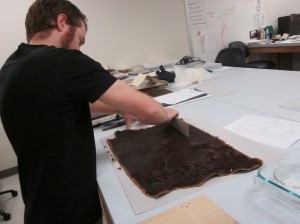
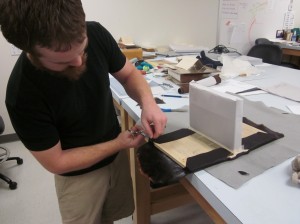
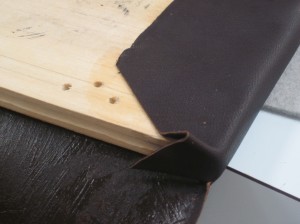
We covered the model with a dark-brown goatskin. Goatskin seems to have been the preferred leather to use. It’s a sturdy, tough covering. We used wheat paste as the glue, giving us several minutes of working time—which is great because it takes a bit to work the leather around the endbands. I’ll admit, Chela did most of the work since I had never done this before. Thanks Chela!
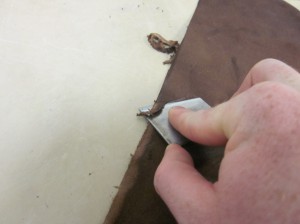
The first step is paring the leather. It's only necessary to remove a layer of leather from the outer edges so that it will adhere to the boards better.
_________________________________________________________
___________________________________________________________
___________________________________________________________
_________________________________________________________
____________________________________________________________
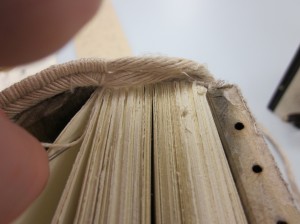
Sewing the Endbands
May 4, 2010
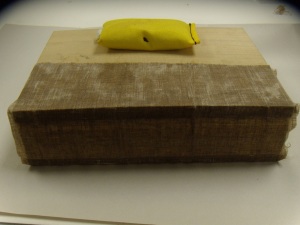
Attaching the Cloth Covering
April 16, 2010
Sewing the Textblock
April 16, 2010
Preparing the Boards–the hinging system
April 9, 2010
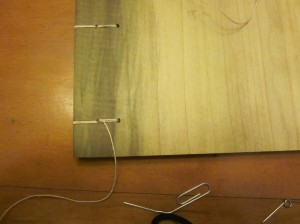
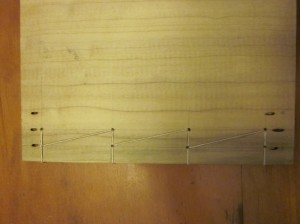
There are several different methods that the Byzantines used to attach the textblock to the wooden boards, but no matter what system was used, they all seem to have drilled holes in the boards and then attached “hinging” threads through these holes so that the textblock could be secured to them at each sewing station.
How to Attach one Piece of Thread to Another
April 9, 2010
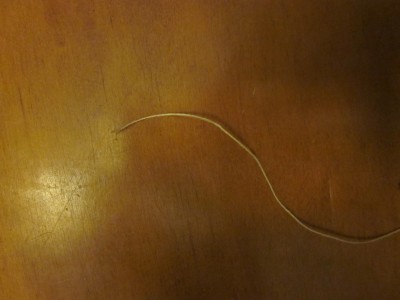
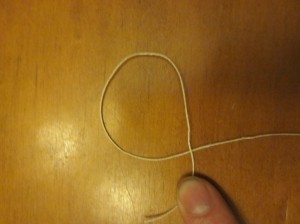
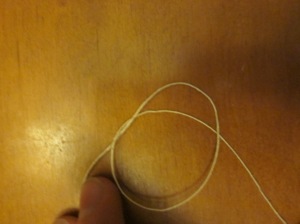
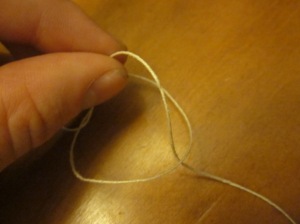
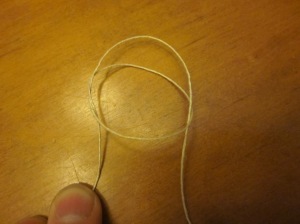
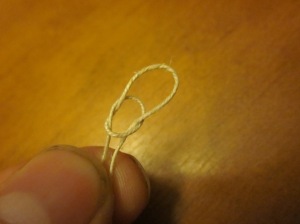
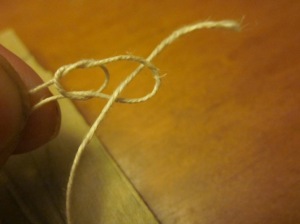
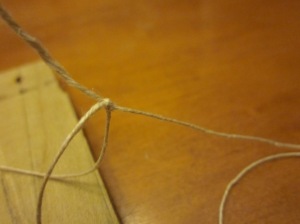
When sewing the textblock a binder frequently finds him/herself without enough length of thread to complete the work. What to do? Well, the binder must attach another length of thread to the end of the previous one so that he/she can continue uninterrupted.
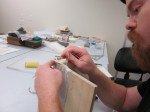
The images below demonstrate one popular method of doing this (I’ve had to use it a lot). I don’t know what method Byzantine binders used—the sources do not say as far as I can tell, but I imagine it was not too different.
Working on the final model
April 1, 2010
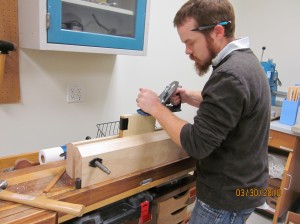
Work on the final model finally began Tuesday. We plowed the boards to level them and drilled our holes for the board attachment.
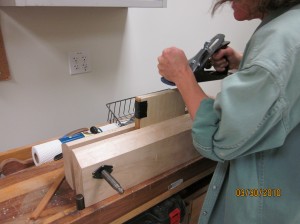
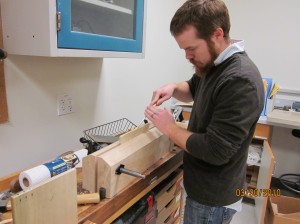
Chela attempts to plow the board edge first.
Then I give it a go…
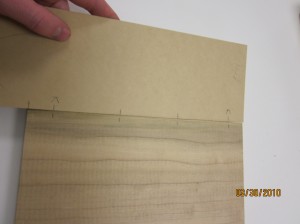
After the moderate success of making the board edges level, we used a jig to match the drill-holes in Chela’s model to mine:
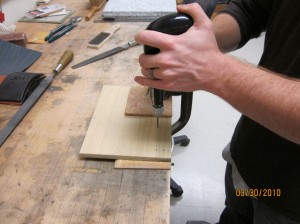
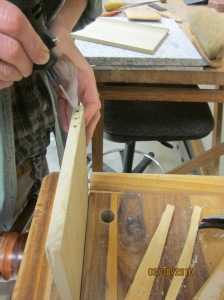
Here I’m drilling the holes by hand:
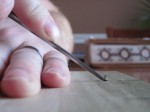
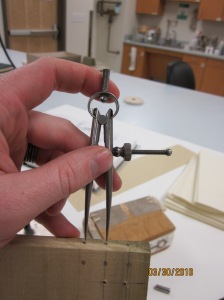
I used this handy tool to make the measurements for the endband holes:
Smoke rises from the drill bit of the dremel tool. Would the Byzantines have used this? Almost certainly!
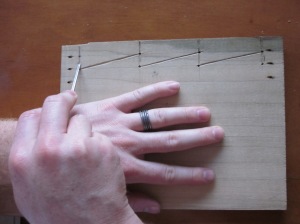
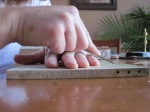
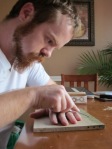
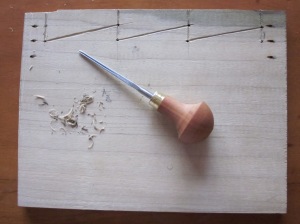
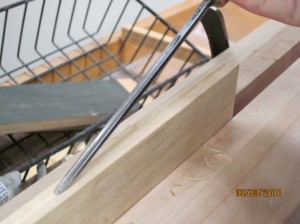
Finally, I attempt to carve the characteristic groove into the edges of the boards:

